閑扯兩句
最近想給自己的博客上加上一個3D標簽云的效果,用來表示自己博客文章的分組,網上找到了canvas實現的,還有a元素實現的解析3D標簽云,我想讓標簽可以選擇和點擊,又不想在標簽數量較多時操作a標簽導致性能問題,于是svg就成了一個不錯的選擇。
標簽初始化
這里實現的核心主要是參考了前面的那篇解析3D標簽云的文章,作者給出了源碼,講解也比較通俗易懂。大體來說,整個代碼分三步:
- 根據標簽的數量,算出每個標簽在球面上分布的x,y,z坐標
- 根據標簽的坐標,將標簽繪制出來,x,y坐標通過標簽的位置來表示,z坐標通過標簽字體的大小和透明度來表示
- 通過函數根據球的旋轉角速度不斷計算標簽新的x,y坐標,制造出旋轉效果
- 通過mousemove事件,根據鼠標坐標值,改變球旋轉的角速度,做出交互效果
貼上代碼:
|
1
2
3
4
5
6
7
|
<div id='app' > <svg :width='width' :height='height' @mousemove='listener($event)'> <a :href="tag.href" rel="external nofollow" v-for='tag in tags'> <text :x='tag.x' :y='tag.y' :font-size='20 * (600/(600-tag.z))' :fill-opacity='((400+tag.z)/600)'>{{tag.text}}</text> </a> </svg></div> |
在模板中,借用指令v-for來渲染標簽,每個標簽上綁定了x,y,font-size(用來表現z軸),fill-opacity(都是與z坐標有關的表達式,用來表現z軸),及text;
|
1
2
3
4
5
6
7
8
9
10
11
12
13
14
15
16
17
|
data: { width:700,//svg寬度 height:700,//svg高度 tagsNum:20,//標簽數量 RADIUS:200,//球的半徑 speedX:Math.PI/360,//球一幀繞x軸旋轉的角度 speedY:Math.PI/360,//球-幀繞y軸旋轉的角度 tags: []}computed:{ CX(){//球心x坐標 return this.width/2; }, CY(){//球心y坐標 return this.height/2; }}, |
做好了上面的基礎,下面我們來初始化標簽數據:
|
1
2
3
4
5
6
7
8
9
10
11
12
13
14
15
16
|
created(){//初始化標簽位置 let tags=[]; for(let i = 0; i < this.tagsNum; i++){ let tag = {}; let k = -1 + (2 * (i + 1) - 1) / this.tagsNum; let a = Math.acos(k); let b = a * Math.sqrt(this.tagsNum * Math.PI)//計算標簽相對于球心的角度 tag.text = i + 'tag'; tag.x = this.CX + this.RADIUS * Math.sin(a) * Math.cos(b);//根據標簽角度求出標簽的x,y,z坐標 tag.y = this.CY + this.RADIUS * Math.sin(a) * Math.sin(b); tag.z = this.RADIUS * Math.cos(a); tag.href = 'https://imgss.github.io';//給標簽添加鏈接 tags.push(tag); }}, |
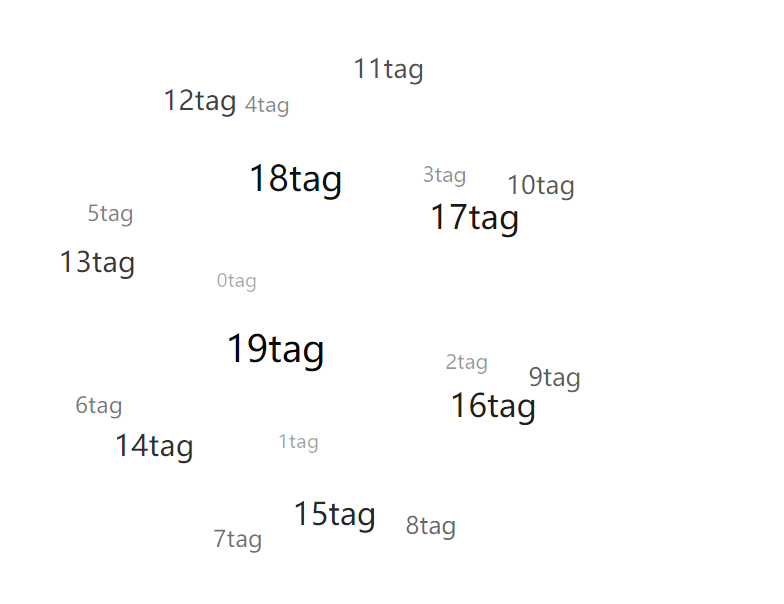
到了這里,我們就算了算坐標,vue完成了視圖更新的工作,這時基本上就可以得到一副靜態的圖像了:

下面就是通過改變每一個tag的x,y的值來使球旋轉起來;實現方法是rotateX,rotateY函數:
|
1
2
3
4
5
6
7
8
9
10
11
12
13
14
15
16
17
18
19
20
|
rotateX(angleX){ var cos = Math.cos(angleX); var sin = Math.sin(angleX); for(let tag of this.tags){ var y1 = (tag.y- this.CY) * cos - tag.z * sin + this.CY; var z1 = tag.z * cos + (tag.y- this.CY) * sin; tag.y = y1; tag.z = z1; }},rotateY(angleY){ var cos = Math.cos(angleY); var sin = Math.sin(angleY); for(let tag of this.tags){ var x1 = (tag.x - this.CX) * cos - tag.z * sin + this.CX; var z1 = tag.z * cos + (tag.x - this.CX) * sin; tag.x = x1; tag.z = z1; }}, |
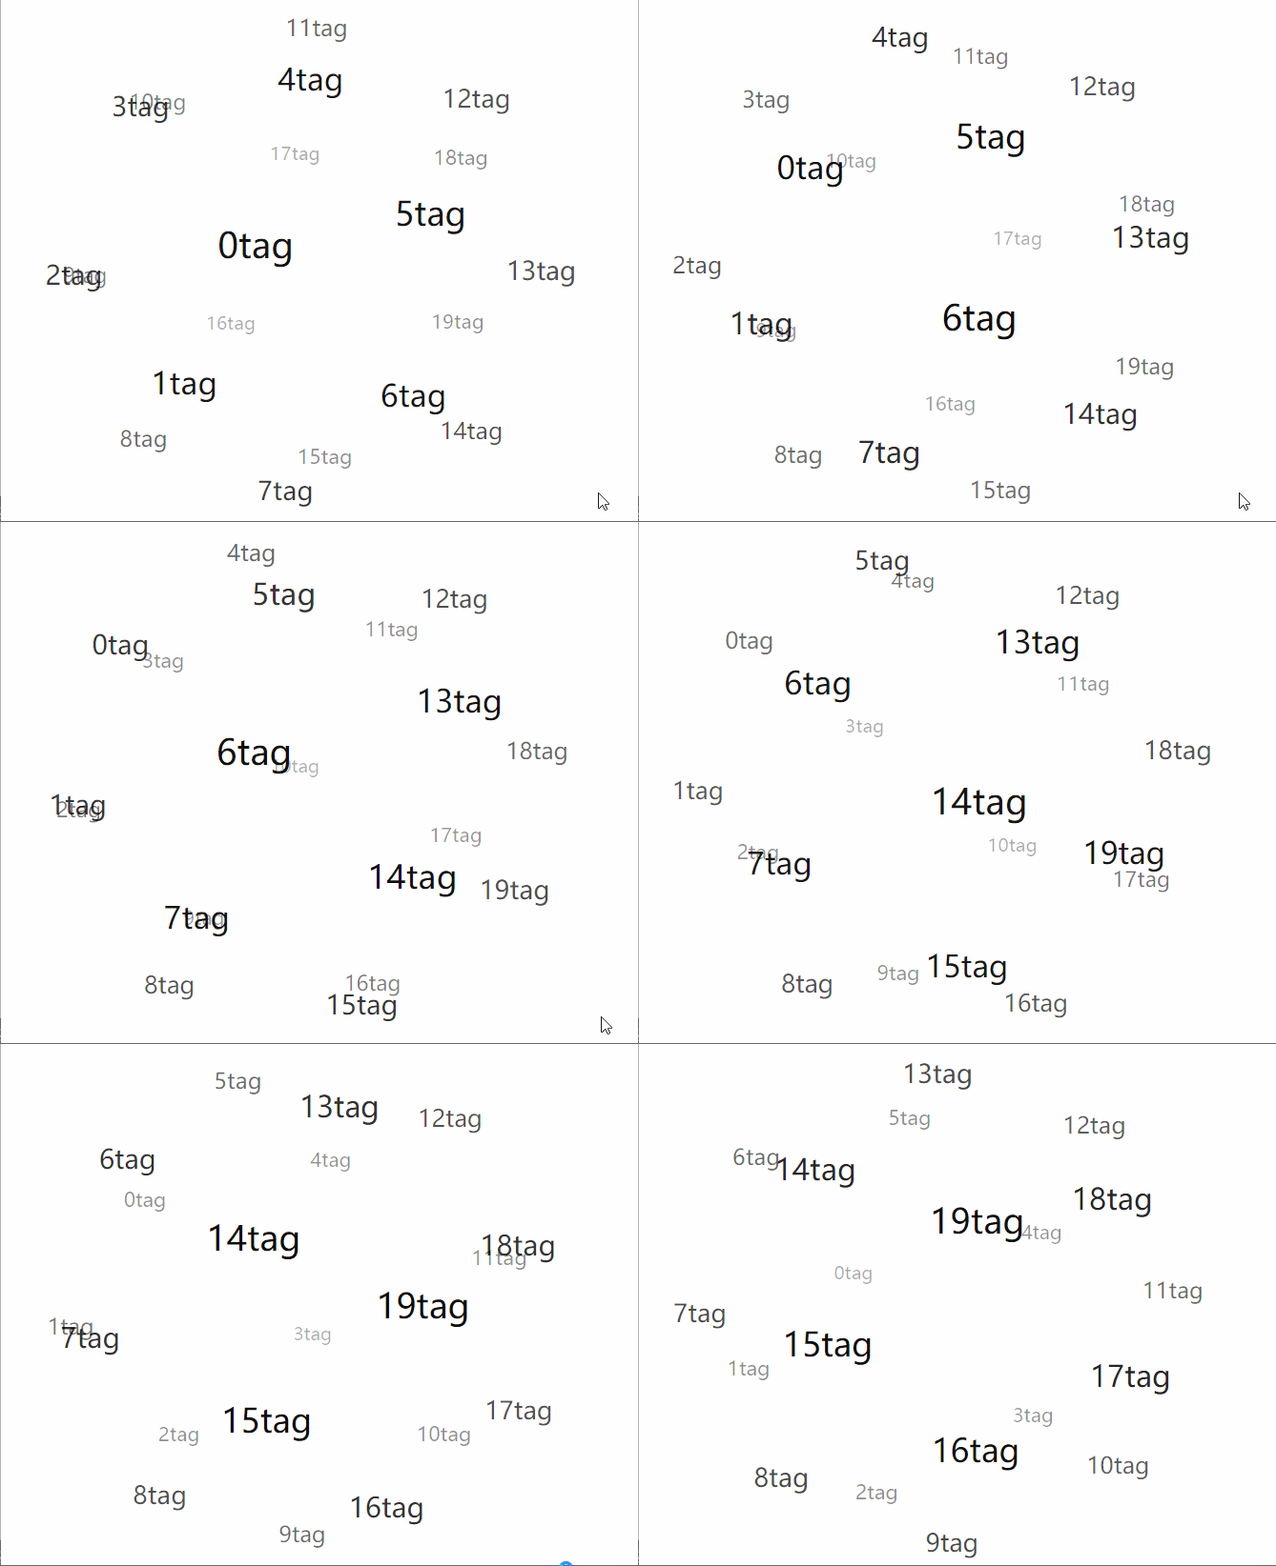
這兩個函數就是根據標簽原來的坐標和球旋轉的角度算出新的坐標,最后在mounted鉤子下面,寫一個animate函數,不斷調用這兩個函數,實現旋轉動畫
|
1
2
3
4
5
6
|
mounted(){//使球開始旋轉 setInterval(() => { this.rotateX(this.speedX); this.rotateY(this.speedY); }, 17)}, |
全部代碼如下:
|
1
2
3
4
5
6
7
8
9
10
11
12
13
14
15
16
17
18
19
20
21
22
23
24
25
26
27
28
29
30
31
32
33
34
35
36
37
38
39
40
41
42
43
44
45
46
47
48
49
50
51
52
53
54
55
56
57
58
59
60
61
62
63
64
65
66
67
68
69
70
71
72
|
<script> var app = new Vue({ el: '#app', data: { width:700, height:700, tagsNum:20, RADIUS:200, speedX:Math.PI/360, speedY:Math.PI/360, tags: [] }, computed:{ CX(){ return this.width/2; }, CY(){ return this.height/2; } }, created(){//初始化標簽位置 let tags=[]; for(let i = 0; i < this.tagsNum; i++){ let tag = {}; let k = -1 + (2 * (i + 1) - 1) / this.tagsNum; let a = Math.acos(k); let b = a * Math.sqrt(this.tagsNum * Math.PI); tag.text = i + 'tag'; tag.x = this.CX + this.RADIUS * Math.sin(a) * Math.cos(b); tag.y = this.CY + this.RADIUS * Math.sin(a) * Math.sin(b); tag.z = this.RADIUS * Math.cos(a); tag.href = 'https://imgss.github.io'; tags.push(tag); } this.tags = tags; }, mounted(){//使球開始旋轉 setInterval(() => { this.rotateX(this.speedX); this.rotateY(this.speedY); }, 17) }, methods: { rotateX(angleX){ var cos = Math.cos(angleX); var sin = Math.sin(angleX); for(let tag of this.tags){ var y1 = (tag.y- this.CY) * cos - tag.z * sin + this.CY; var z1 = tag.z * cos + (tag.y- this.CY) * sin; tag.y = y1; tag.z = z1; } }, rotateY(angleY){ var cos = Math.cos(angleY); var sin = Math.sin(angleY); for(let tag of this.tags){ var x1 = (tag.x - this.CX) * cos - tag.z * sin + this.CX; var z1 = tag.z * cos + (tag.x-this.CX) * sin; tag.x = x1; tag.z = z1; } }, listener(event){//響應鼠標移動 var x = event.clientX - this.CX; var y = event.clientY - this.CY; this.speedX = x*0.0001>0 ? Math.min(this.RADIUS*0.00002, x*0.0001) : Math.max(-this.RADIUS*0.00002, x*0.0001); this.speedY = y*0.0001>0 ? Math.min(this.RADIUS*0.00002, y*0.0001) : Math.max(-this.RADIUS*0.00002, y*0.0001); } } })</script> |

總結
vue的數據綁定可以減少我們對dom的操作,而將關注點放在邏輯上面,vue構造函數提供的幾個選項可以幫助我們更好的組織代碼
以上就是vue實現標簽云效果的示例的詳細內容,更多關于vue 標簽云的資料請關注服務器之家其它相關文章!
原文鏈接:https://www.cnblogs.com/imgss/p/tagcloud.html


