前言
本文主要是分享一下機(jī)器學(xué)習(xí)初期,基本的環(huán)境搭建。也適用于其他python工程化項(xiàng)目環(huán)境搭建。都差不多。
Anaconda安裝
anaconda官方鏈接:Anaconda | The World's Most Popular Data Science Platform
點(diǎn)擊Get Started

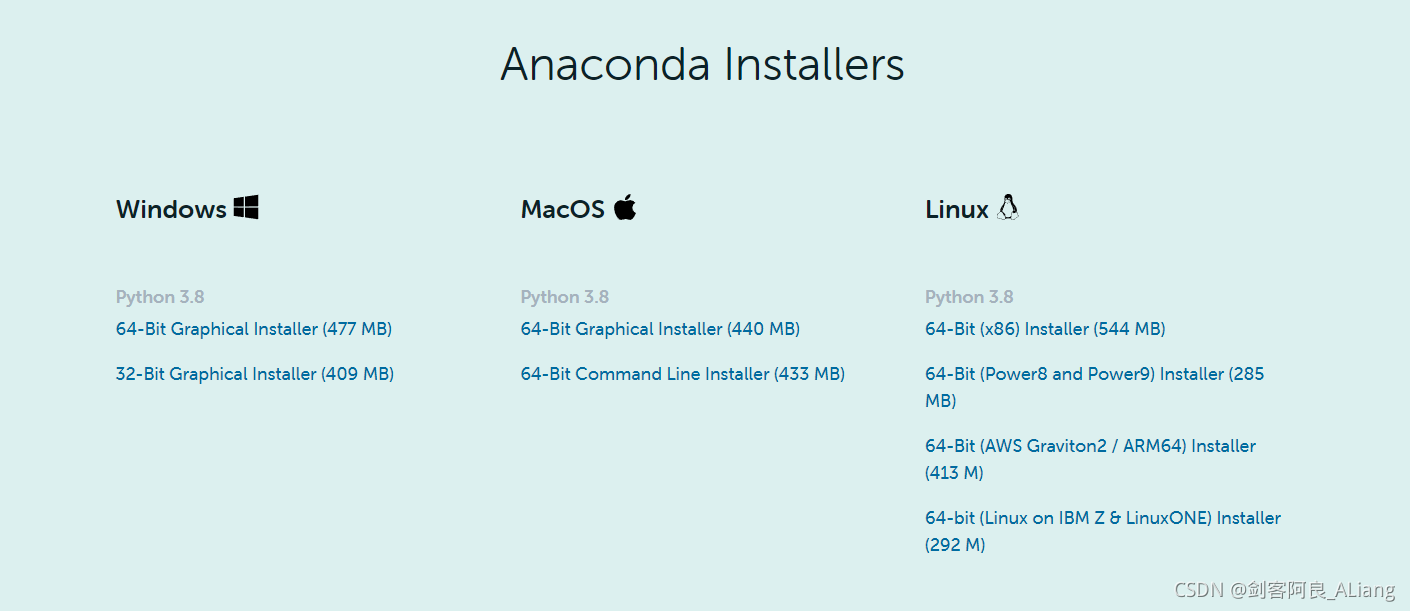
點(diǎn)擊Download Anaconda installers

根據(jù)自己的操作系統(tǒng),下載對(duì)應(yīng)的安裝包。
安裝anaconda
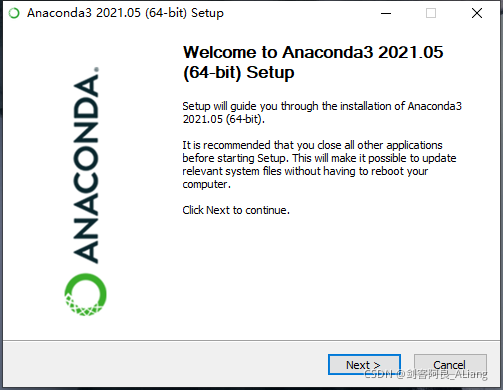
一路點(diǎn)下去,安裝完成。
使用conda配置python3.6環(huán)境
目前python3比較穩(wěn)定的版本為3.6,通過(guò)anaconda構(gòu)建一個(gè)python3的虛擬環(huán)境。
首先我們看一下base環(huán)境的python版本。點(diǎn)開(kāi)windows的搜索欄,輸入anaconda,打開(kāi)Anaconda Prompt。
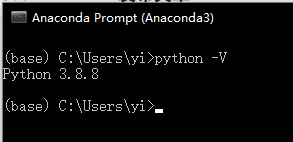
輸入命令
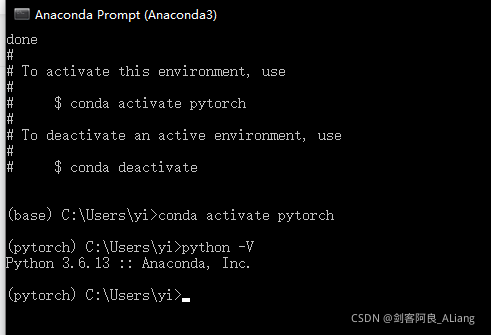
conda create -n pytorch python=3.6
構(gòu)建一個(gè)叫pytorch的虛擬環(huán)境。并且激活環(huán)境,輸入一下命令。
Spyder配置與使用
Pycharm整體來(lái)看還是python最好的IDE,Spyder是Anaconda提供的IDE,是我認(rèn)為在編輯一些簡(jiǎn)單程序、或者調(diào)試程序比較好用的IDE。這里推薦一下。
打開(kāi)Anaconda Navigator。
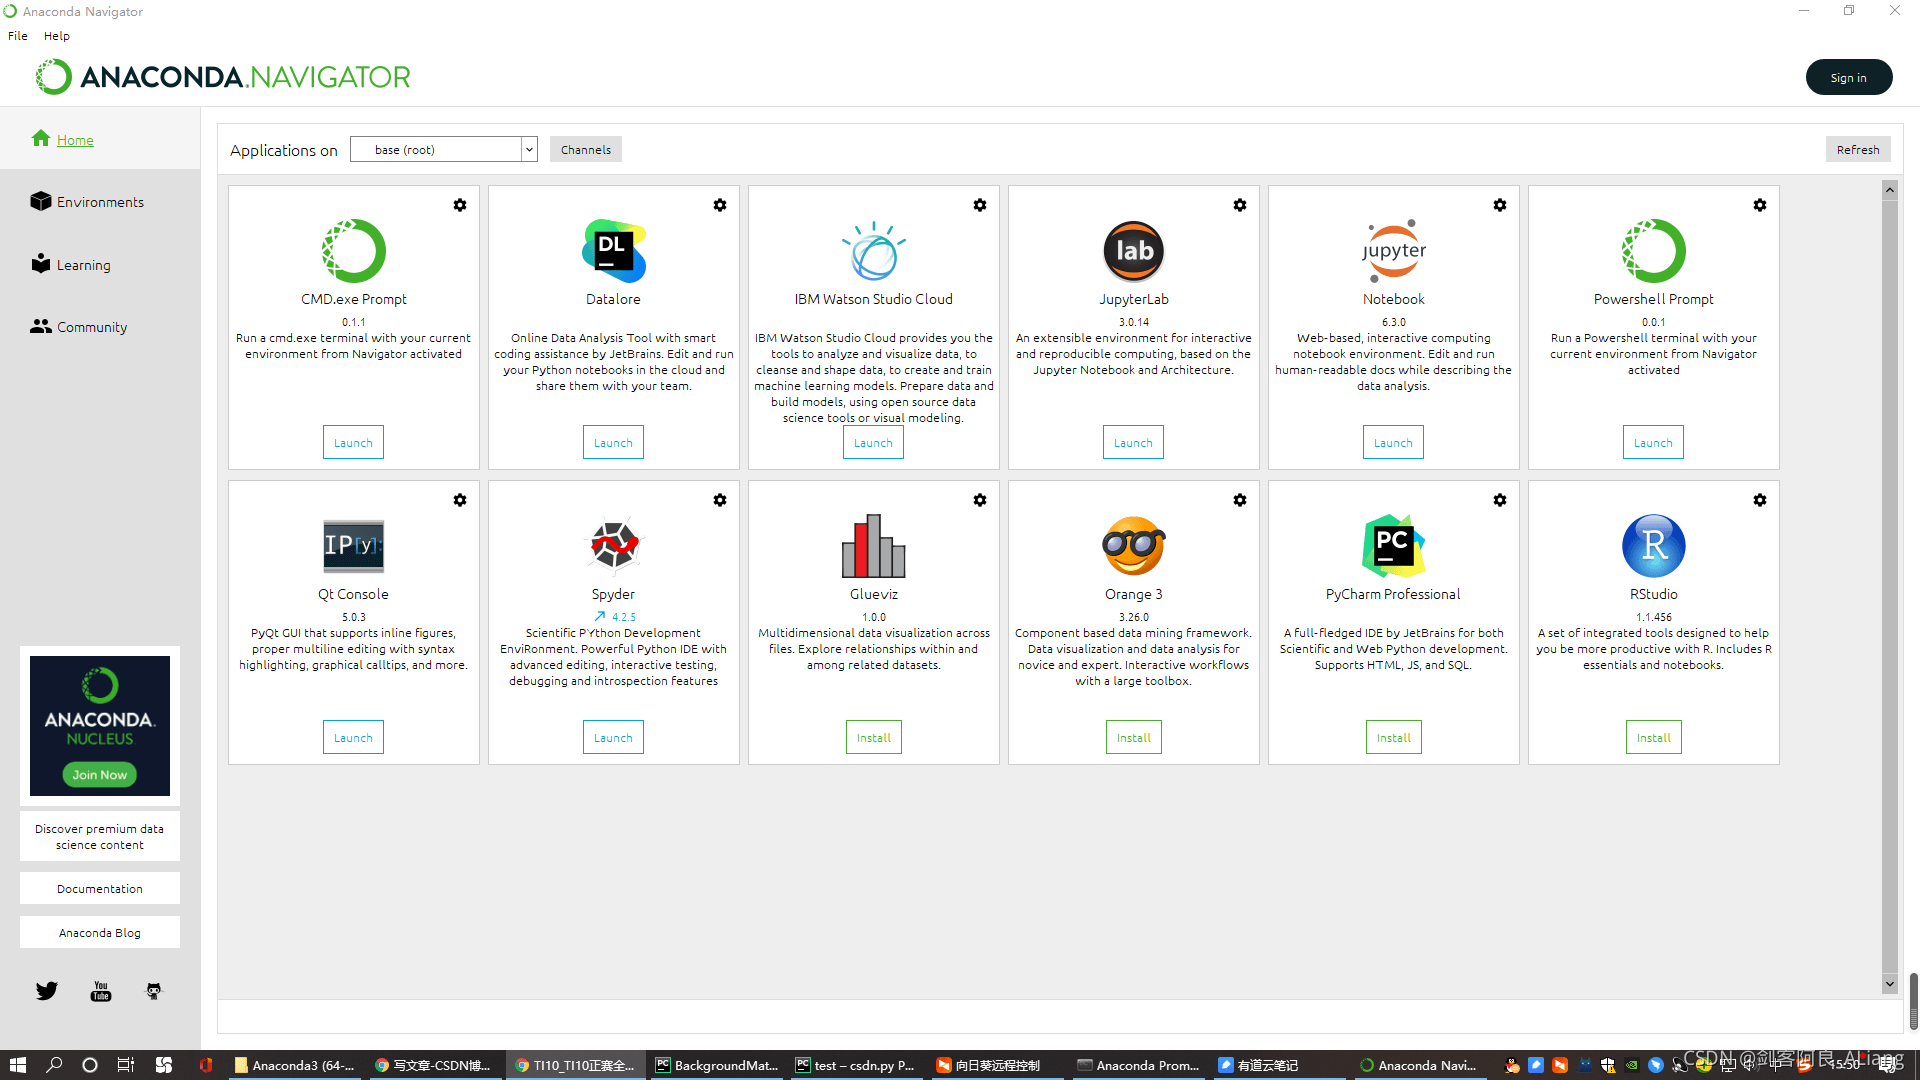
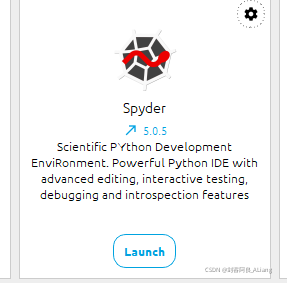
升級(jí)一下,并且切換一下我們剛剛激活的pytorch環(huán)境。
![]()
打開(kāi)Spyder

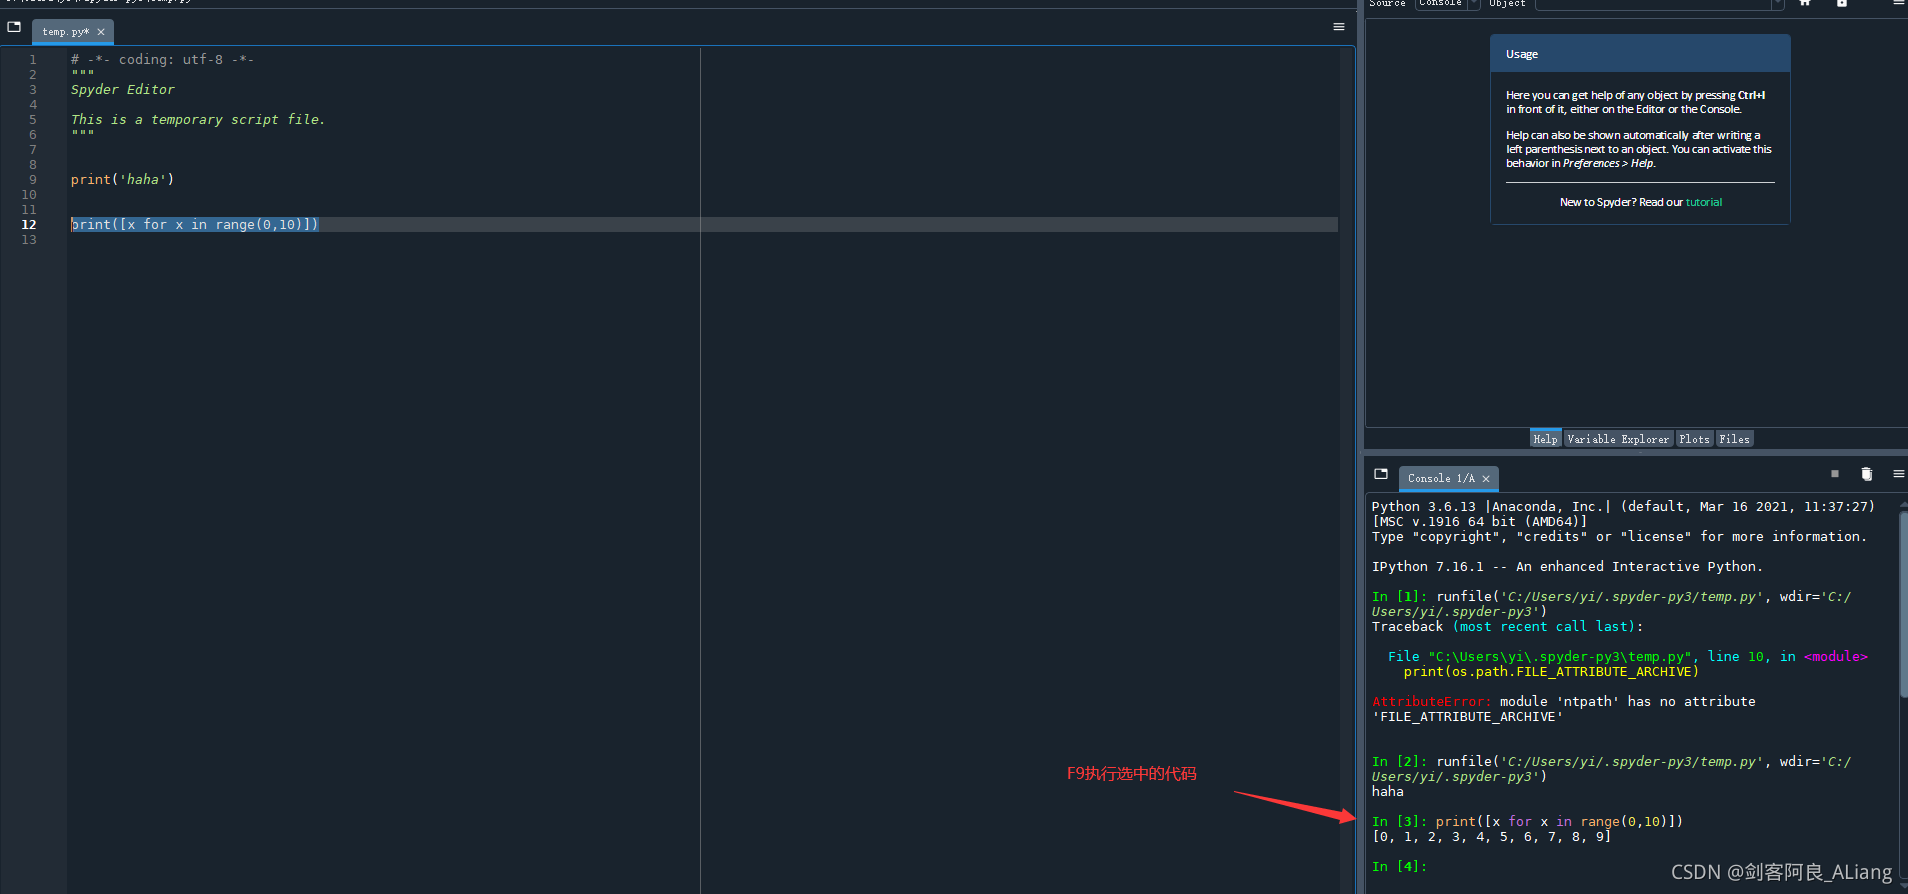
可以選中部分代碼,按F9,只執(zhí)行選中的代碼塊,很適合調(diào)試。
安裝PyTorch
登入PyTorch官網(wǎng):PyTorch
選擇操作系統(tǒng),cuda模式,復(fù)制安裝命令。
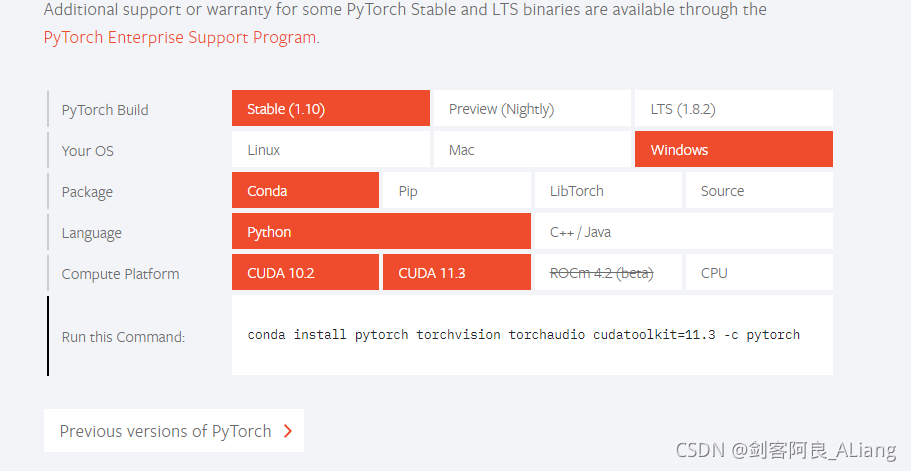
Anaconda Prompt激活pytorch環(huán)境,執(zhí)行命令。慢慢等安裝吧。

如果你發(fā)現(xiàn)安裝很慢的話,建議給anaconda添加國(guó)內(nèi)源。而且我不建議是清華源,因?yàn)樘恕_@里推薦一下北外的源。具體操作如下:
打開(kāi)用戶目錄下的.condarc文件,更新成為如下內(nèi)容。
channels:
- defaults
show_channel_urls: true
default_channels:
- https://mirrors.bfsu.edu.cn/anaconda/pkgs/main
- https://mirrors.bfsu.edu.cn/anaconda/pkgs/r
- https://mirrors.bfsu.edu.cn/anaconda/pkgs/msys2
custom_channels:
conda-forge: https://mirrors.bfsu.edu.cn/anaconda/cloud
msys2: https://mirrors.bfsu.edu.cn/anaconda/cloud
bioconda: https://mirrors.bfsu.edu.cn/anaconda/cloud
menpo: https://mirrors.bfsu.edu.cn/anaconda/cloud
pytorch: https://mirrors.bfsu.edu.cn/anaconda/cloud
simpleitk: https://mirrors.bfsu.edu.cn/anaconda/cloud
命令行中執(zhí)行命令清理緩存。
conda clean -i
安裝完成之后,查看pytorch版本。
conda list
![]()
總結(jié)
基本環(huán)境已經(jīng)搭好了,找個(gè)模型玩玩吧。
如果本文對(duì)你有幫助的話,點(diǎn)個(gè)贊吧。

到此這篇關(guān)于Python 機(jī)器學(xué)習(xí)第一章環(huán)境配置圖解流程的文章就介紹到這了,更多相關(guān)Python 機(jī)器學(xué)習(xí)內(nèi)容請(qǐng)搜索服務(wù)器之家以前的文章或繼續(xù)瀏覽下面的相關(guān)文章希望大家以后多多支持服務(wù)器之家!
原文鏈接:https://huyi-aliang.blog.csdn.net/article/details/121064139


