本文實例為大家分享了silverlight實現星星閃爍動畫展示的具體代碼,供大家參考,具體內容如下
原理很簡單,生成1000個圓,從隨機數來布置它們的位置,通過動畫來處理它們的透明度,動畫時長也是隨機生成。
1、創建圖形數組并設置背景透明,漸變筆觸,大小等,而后加入到grid元素的子元素集中;
2、創建動畫時間線;
3、加載完成后播放動畫;
4、每一輪動畫播放完畢后,重新隨機生成一下圖形的margin,動畫的時間長度也是隨機生成。
代碼:
|
1
2
3
4
5
6
7
8
9
10
11
12
13
14
15
16
17
18
19
20
21
22
23
24
25
26
27
28
29
30
31
32
33
34
35
36
37
38
39
40
41
42
43
44
45
46
47
48
49
50
51
52
53
54
55
56
57
58
59
60
61
62
63
64
65
66
67
68
69
70
71
72
73
74
75
76
77
78
79
80
81
82
83
84
85
86
87
88
89
90
91
92
93
94
95
96
97
98
99
100
101
102
103
104
105
106
107
108
109
110
111
112
113
114
115
116
117
118
119
120
121
122
123
|
using system;using system.collections.generic;using system.linq;using system.net;using system.windows;using system.windows.controls;using system.windows.documents;using system.windows.input;using system.windows.media;using system.windows.media.animation;using system.windows.shapes; namespace randellipsesample{ public partial class mainpage : usercontrol { int shapescount = 500; //圖形數組的容量 //隨機大小的上限 int themaxw = 1300; int themaxh = 720; random rand = null; storyboard story = null; ellipse[] myshapes = null; public mainpage() { initializecomponent(); rand = new random(); story = new storyboard(); story.completed += new eventhandler(story_completed); initshapes(); initanimation(); //加載完成后馬上播放動畫 this.loaded += new routedeventhandler(mainpage_loaded); } void mainpage_loaded(object sender, routedeventargs e) { story.begin(); } void story_completed(object sender, eventargs e) { for (int x = 0; x < shapescount; x++) { myshapes[x].margin = new thickness(convert.todouble(rand.next(0, themaxw)), convert.todouble(rand.next(0, themaxh)), 0, 0); } initanimation(); } /// <summary> /// 初始化形狀數組 /// </summary> private void initshapes() { myshapes = new ellipse[shapescount]; //實例化所有成員 for (int n = 0; n < shapescount; n++) { myshapes[n] = new ellipse(); myshapes[n].fill = new solidcolorbrush(colors.transparent); myshapes[n].strokethickness = 2d; //筆觸為線性漸變 lineargradientbrush gbrush = new lineargradientbrush(); gbrush.startpoint = new point(0, 0); gbrush.endpoint = new point(1, 1); gbrush.gradientstops.add(new gradientstop() { color = colors.yellow, offset = 0 }); gbrush.gradientstops.add(new gradientstop() { color = colors.red, offset = 0.25 }); gbrush.gradientstops.add(new gradientstop() { color = colors.white, offset = 0.5 }); gbrush.gradientstops.add(new gradientstop() { color = colors.blue, offset = 0.75 }); myshapes[n].stroke = gbrush; //位置 myshapes[n].margin = new thickness(convert.todouble(rand.next(0,themaxw)), convert.todouble(rand.next(0,themaxh)), 0, 0); //大小 myshapes[n].width = 10; myshapes[n].height = 10; myshapes[n].horizontalalignment = horizontalalignment.left; myshapes[n].verticalalignment = verticalalignment.top; //加入可視化樹 this.layoutroot.children.add(myshapes[n]); } } /// <summary> /// 初始化動畫 /// </summary> private void initanimation() { story.children.clear(); for (int i = 0; i < shapescount; i++) { int msecond = rand.next(0, 5); //透明度 doubleanimation opacityanimate = new doubleanimation(); opacityanimate.from = 1.0; opacityanimate.to = 0.0; storyboard.settarget(opacityanimate, myshapes[i]); storyboard.settargetproperty(opacityanimate, new propertypath("opacity")); opacityanimate.duration = new duration(timespan.fromseconds(msecond)); opacityanimate.repeatbehavior = repeatbehavior.forever; //將時間線添加到情節摘要 story.children.add(opacityanimate); } } }} |
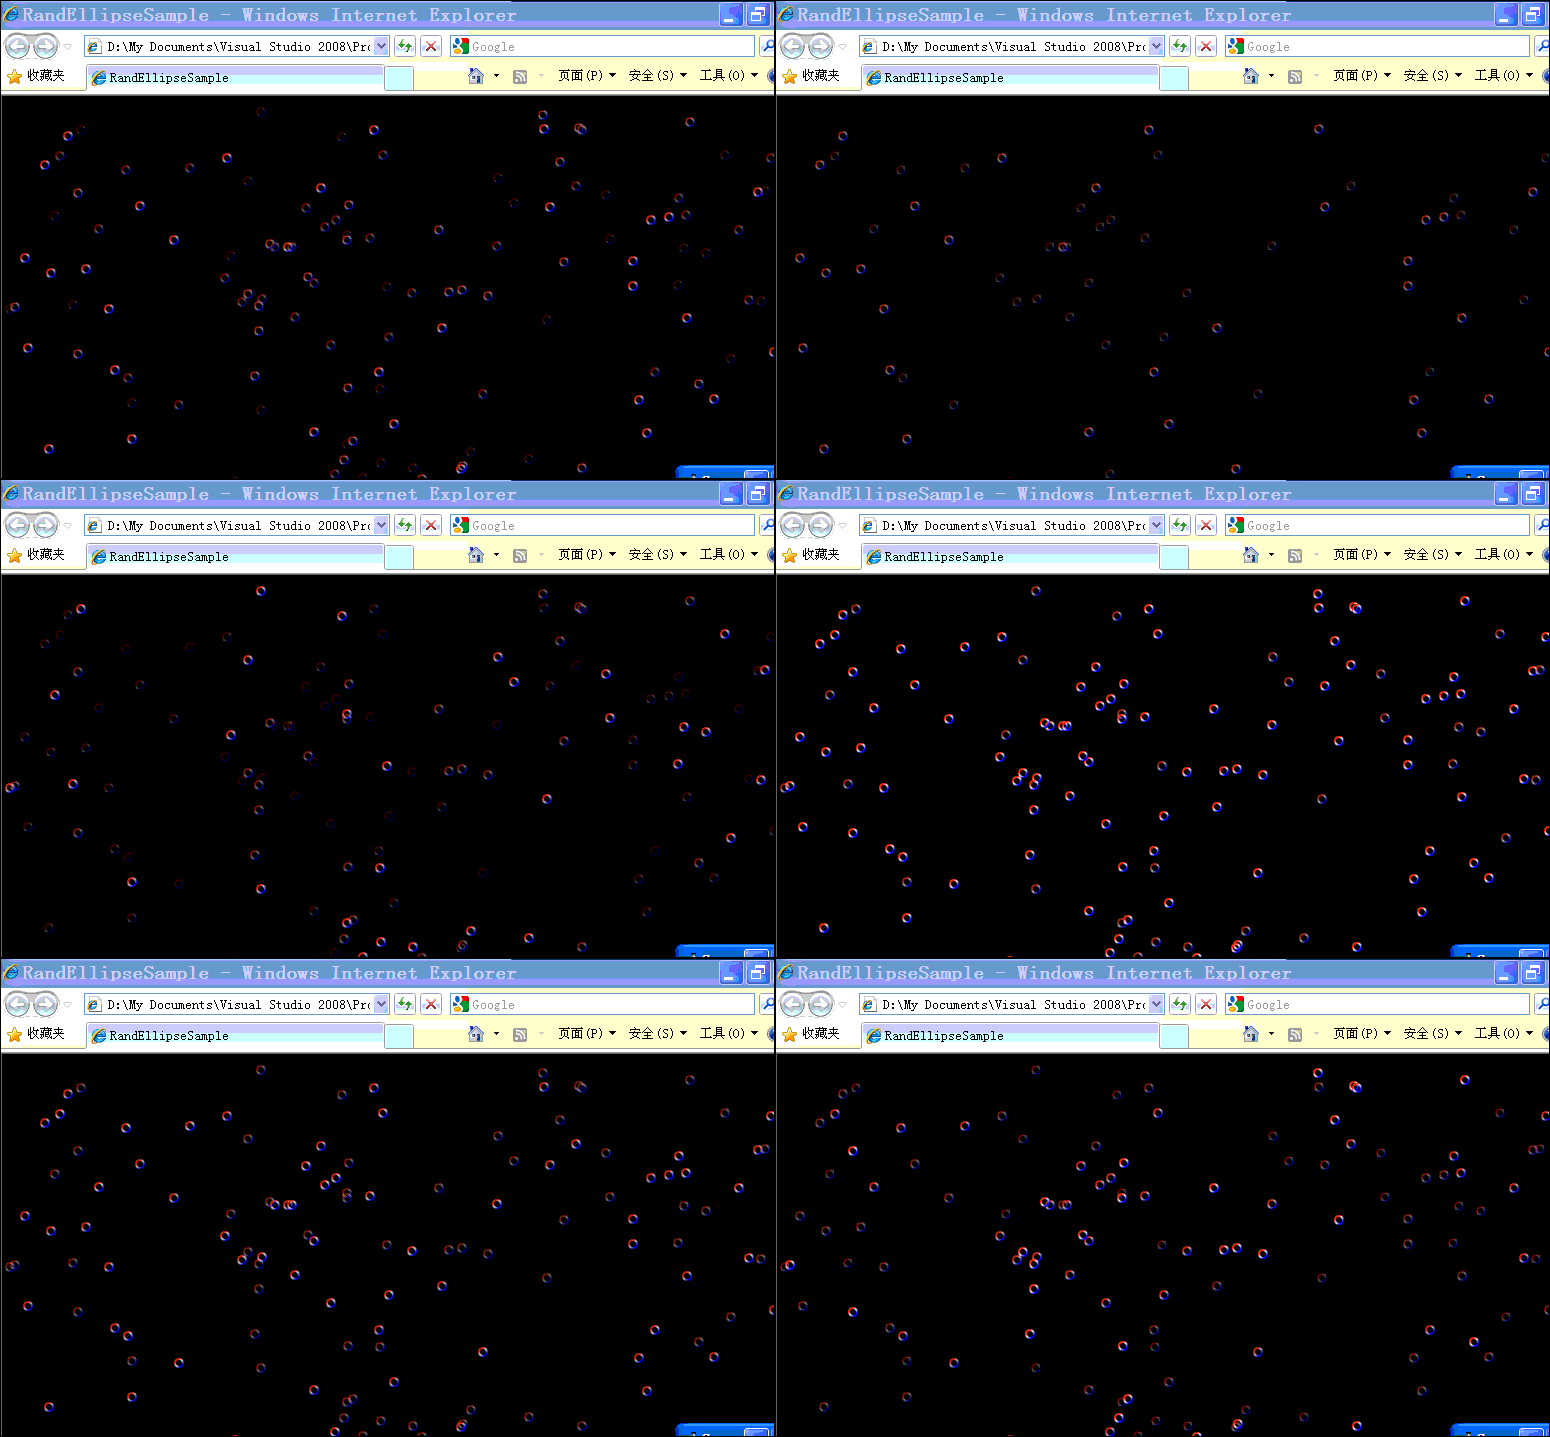
效果圖:

以上就是本文的全部內容,希望對大家的學習有所幫助,也希望大家多多支持服務器之家。
原文鏈接:https://blog.csdn.net/tcjiaan/article/details/7101546


